Whether you’re a budding YouTube celebrity or a long-time professional editor, vlogging is a great way to share your experiences and grow an audience (and who knows what other opportunities it could lead to!)
Before you jump into Internet stardom, there are a few things you need to know in order to rock it in front of the camera and create vlogs.

1. Content
Brainstorm subjects you are passionate about and that are both interesting and engaging for viewers. Make sure to narrow down your topic, research it thoroughly, and jot down key points you want to cover in your video. To keep your vlog short, plan a general beginning, middle, and end.
2. Camera
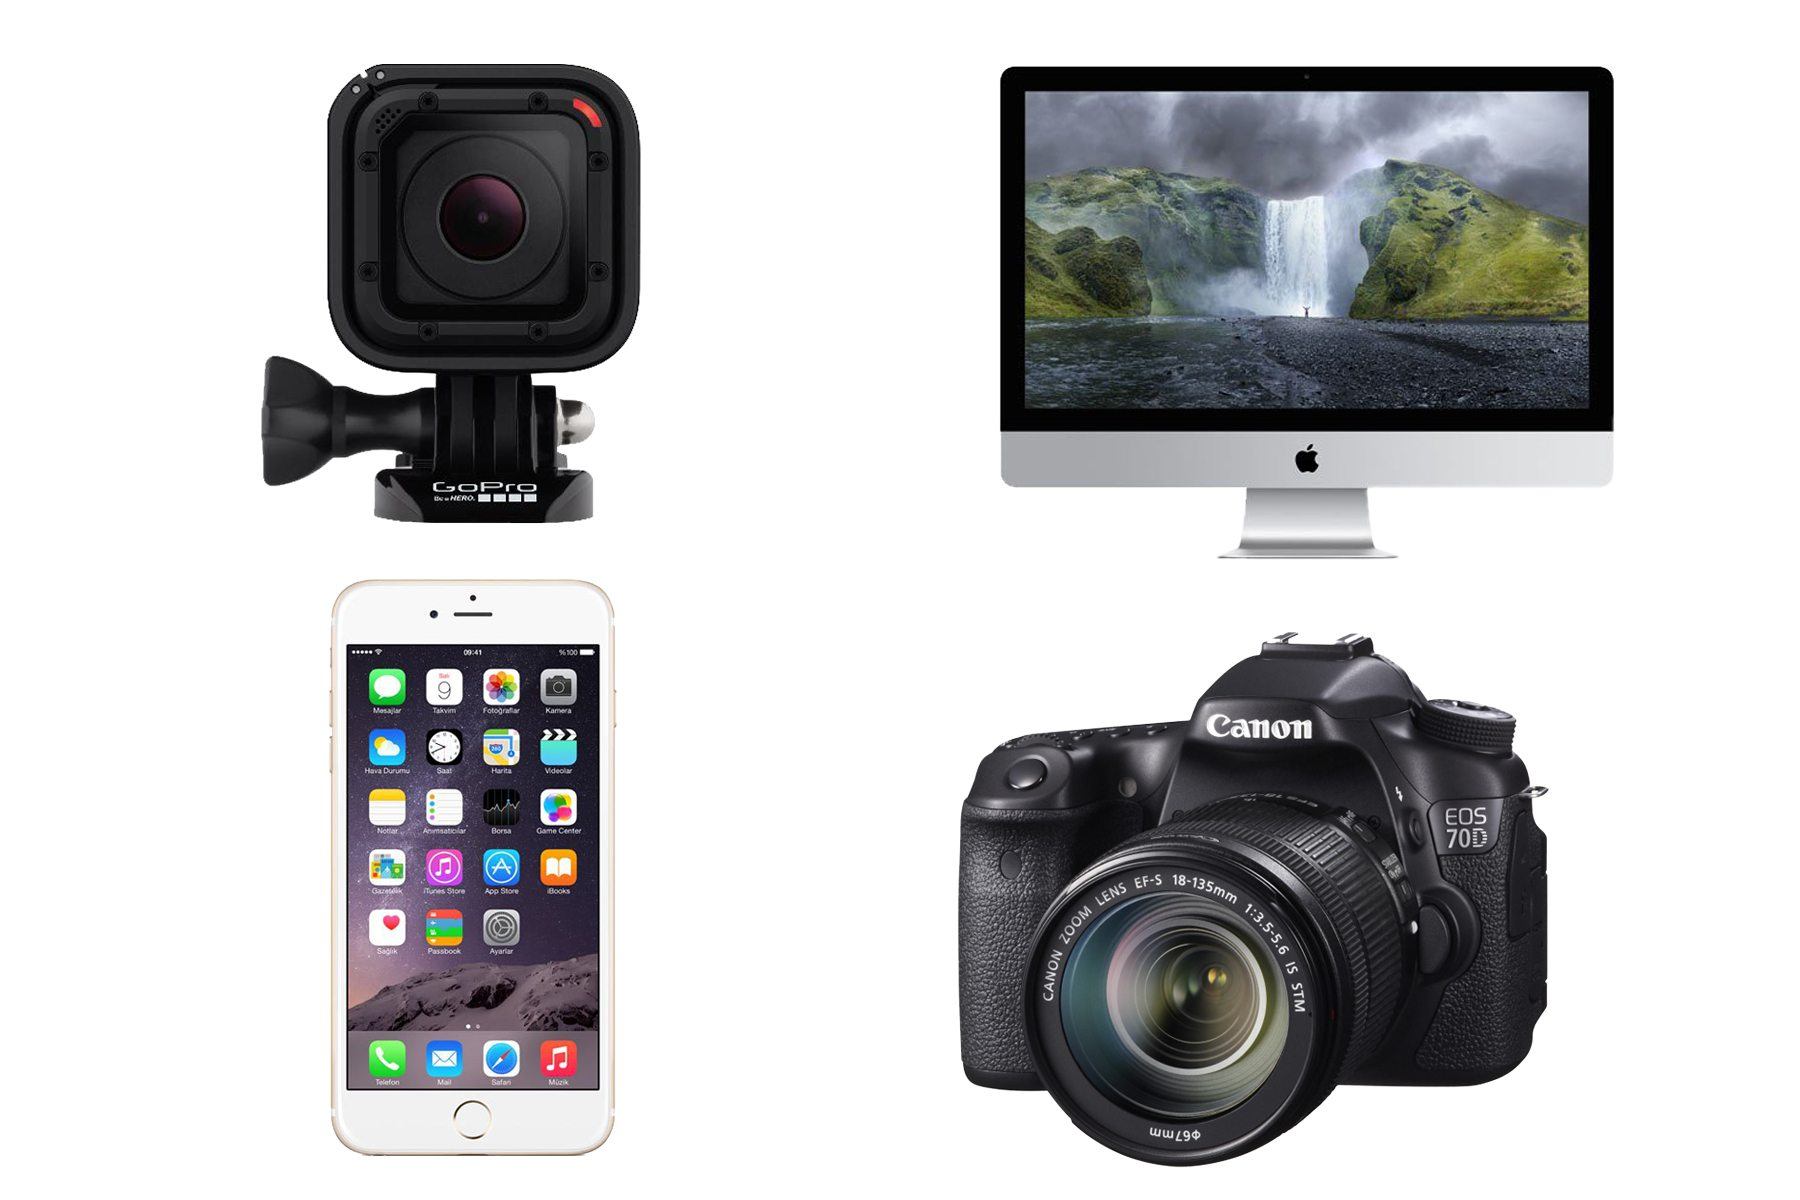
The camera you use should directly relate to the type of vlog you want to produce. If you’re looking to film a simple blog from your desk, you can use your webcam. However if you need more detail and have a bit more equipment on-hand, a DSLR camera on a tripod will yield the best results. If you’re filming a travel vlog, use either a GoPro or your phone (in landscape please.)
Need help deciding what camera is for you? DSLR Guide shares great reviews on all types of cameras and helpful filmmaking tips.

[via]
3. Background
Consider your location. Are you standing in front of a white wall or a boring office building? Is there a half opened bag of chips and dirty laundry scattered all around your apartment. Think again.
Tidy up and position you’re camera so you’re background is captivating and colorful. Hang up a gallery wall, head to a park, or pretend you’re somewhere else entirely with a green screen.

[via]
4. Lighting
Lighting is everything so light it all up. Viewers immediately judge a video by the quality of lighting. This is the one case where more can be better.
Remember, the light should be pointed at you, not behind you. Otherwise you’ll look like a shadow creature.
A free lighting option is to make use of daylight and window light. However, if you’re looking to invest (and you should), consider umbrella lights, light rings, and reflectors.
Want to see vlog lighting at work? It’s Judy Time has a great video on ring and lotus lights for vloggers.

5. Audio
Scan your location for noise. Chances are if you’re filming right next to a hospital, it’s going to be noisy. Try to find a quiet place or shoot in a room with good acoustics. Nobody is going to listen to you if they can’t hear what you’re saying.
Before filming your vlog be sure to test your camera’s audio quality. You may need to use a boom mic or lavalier or recording device.
[via]
6. Presentation
Center yourself in front of your camera and make the Dowager Countess of Grantham proud by practicing good posture.
When you get in front of the camera things can change. Instead of freaking out, let your hair down and get comfortable. Remember the key points you jotted down earlier, relax and have fun. Be confident and talk to the camera when you create vlogs like you go way back.
Thanks to the Internet our attention spans are- what, is that a bat?
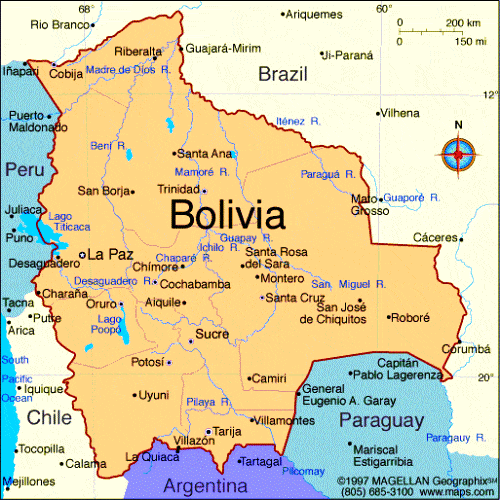
To shake things up and keep viewers focused, include B-roll footage relating to your topic. If you’re talking about Bolivia, why not throw up a map of Bolivia? It will create a nice break and can educate (or shock) some viewers on the actual location of Bolivia. Hint, it’s not in Eastern Europe.
7. Editing Software
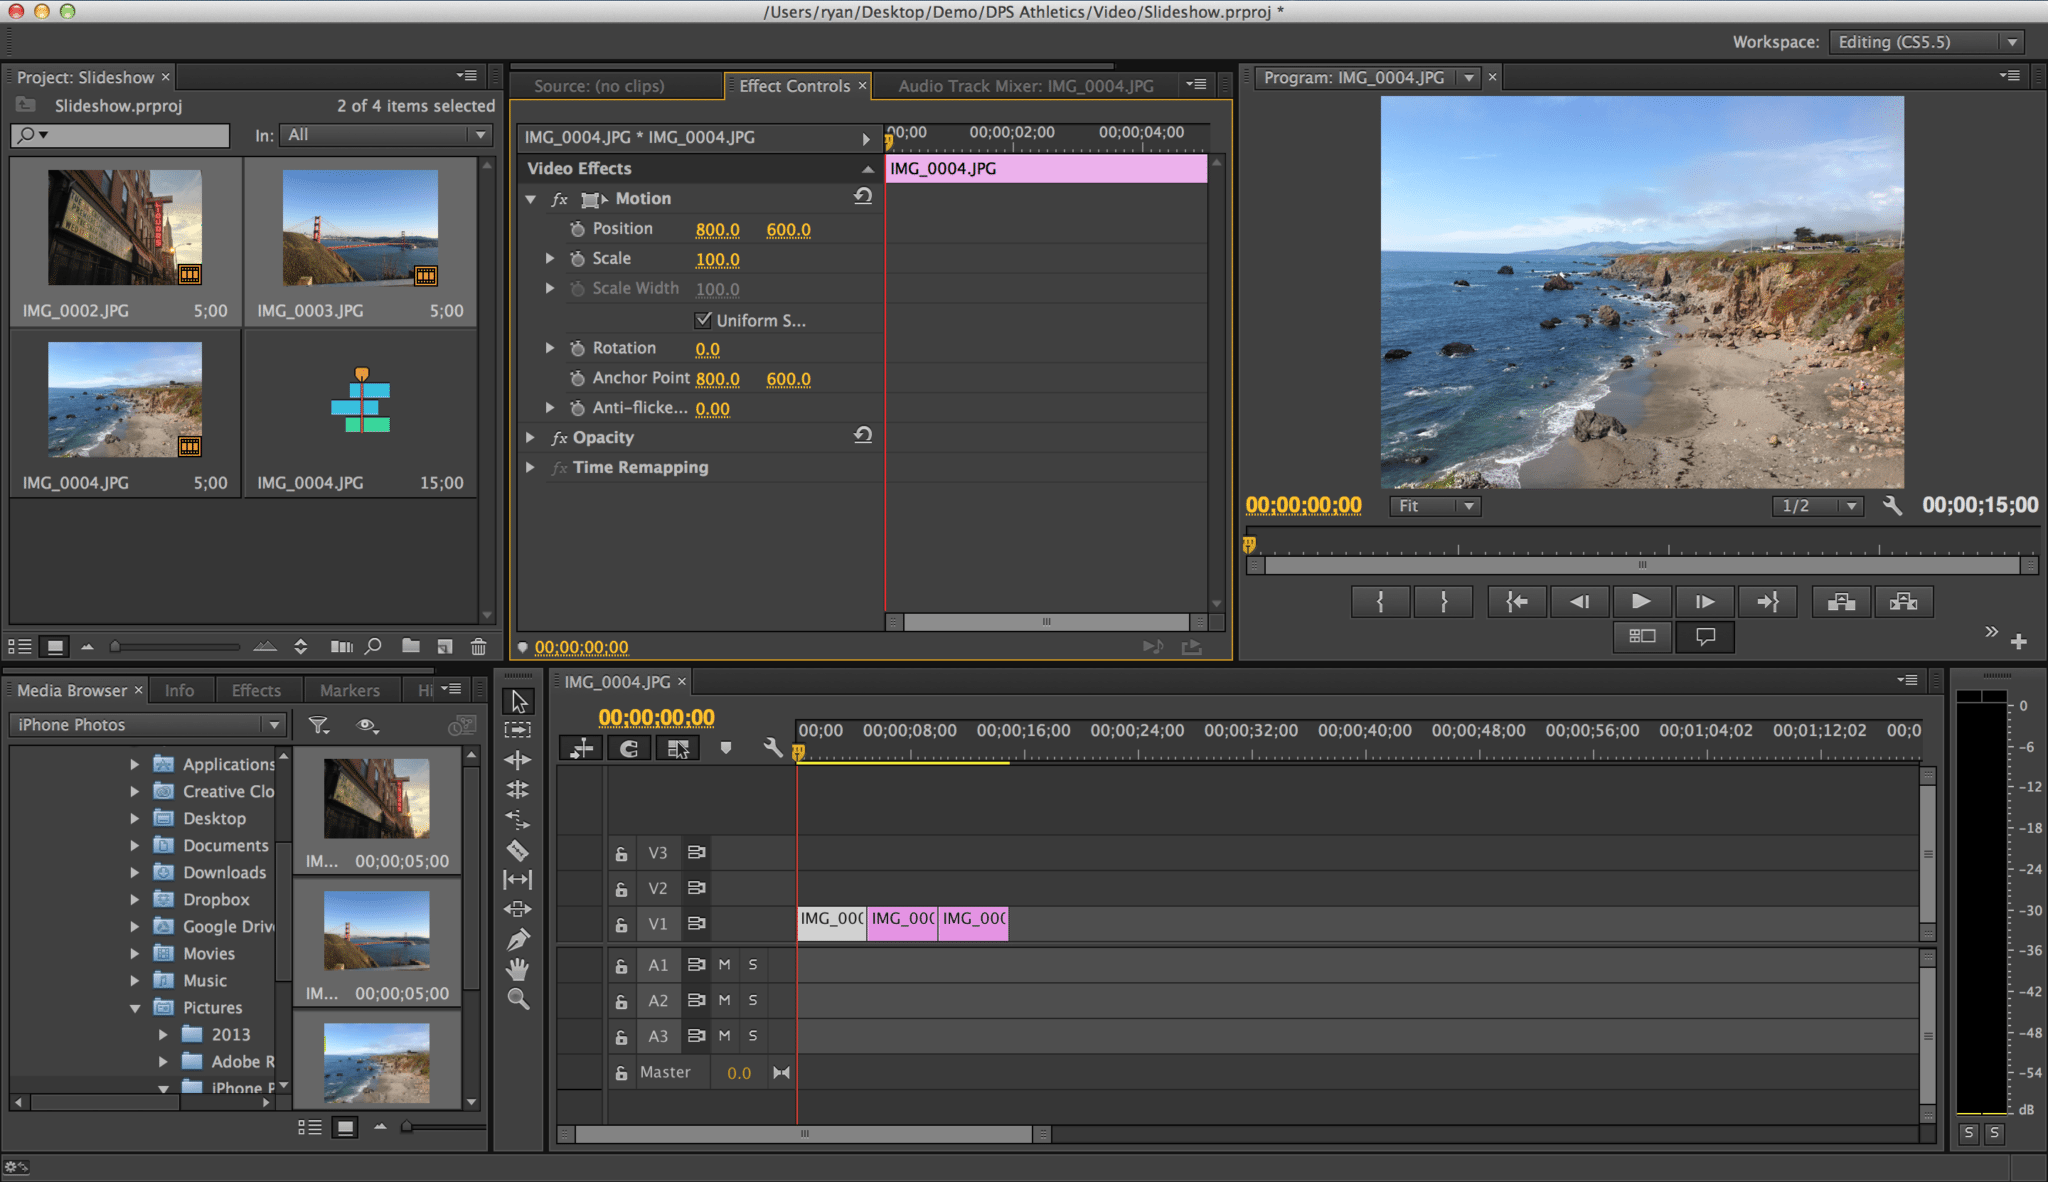
Now that you’ve got your footage to create a vlog, you’ll need video editing software to help you cut, trim and tie it all together. Find software that will fit your budget. The top players in the game are Apple Final Cut Pro X, Adobe Premiere Pro, Avid Media Composer, Grass Valley EDIUS, and Sony Vegas Pro. You can explore less expensive options but if you’re planning on doing this long term, better tools are worth the investment.
8. Post Production
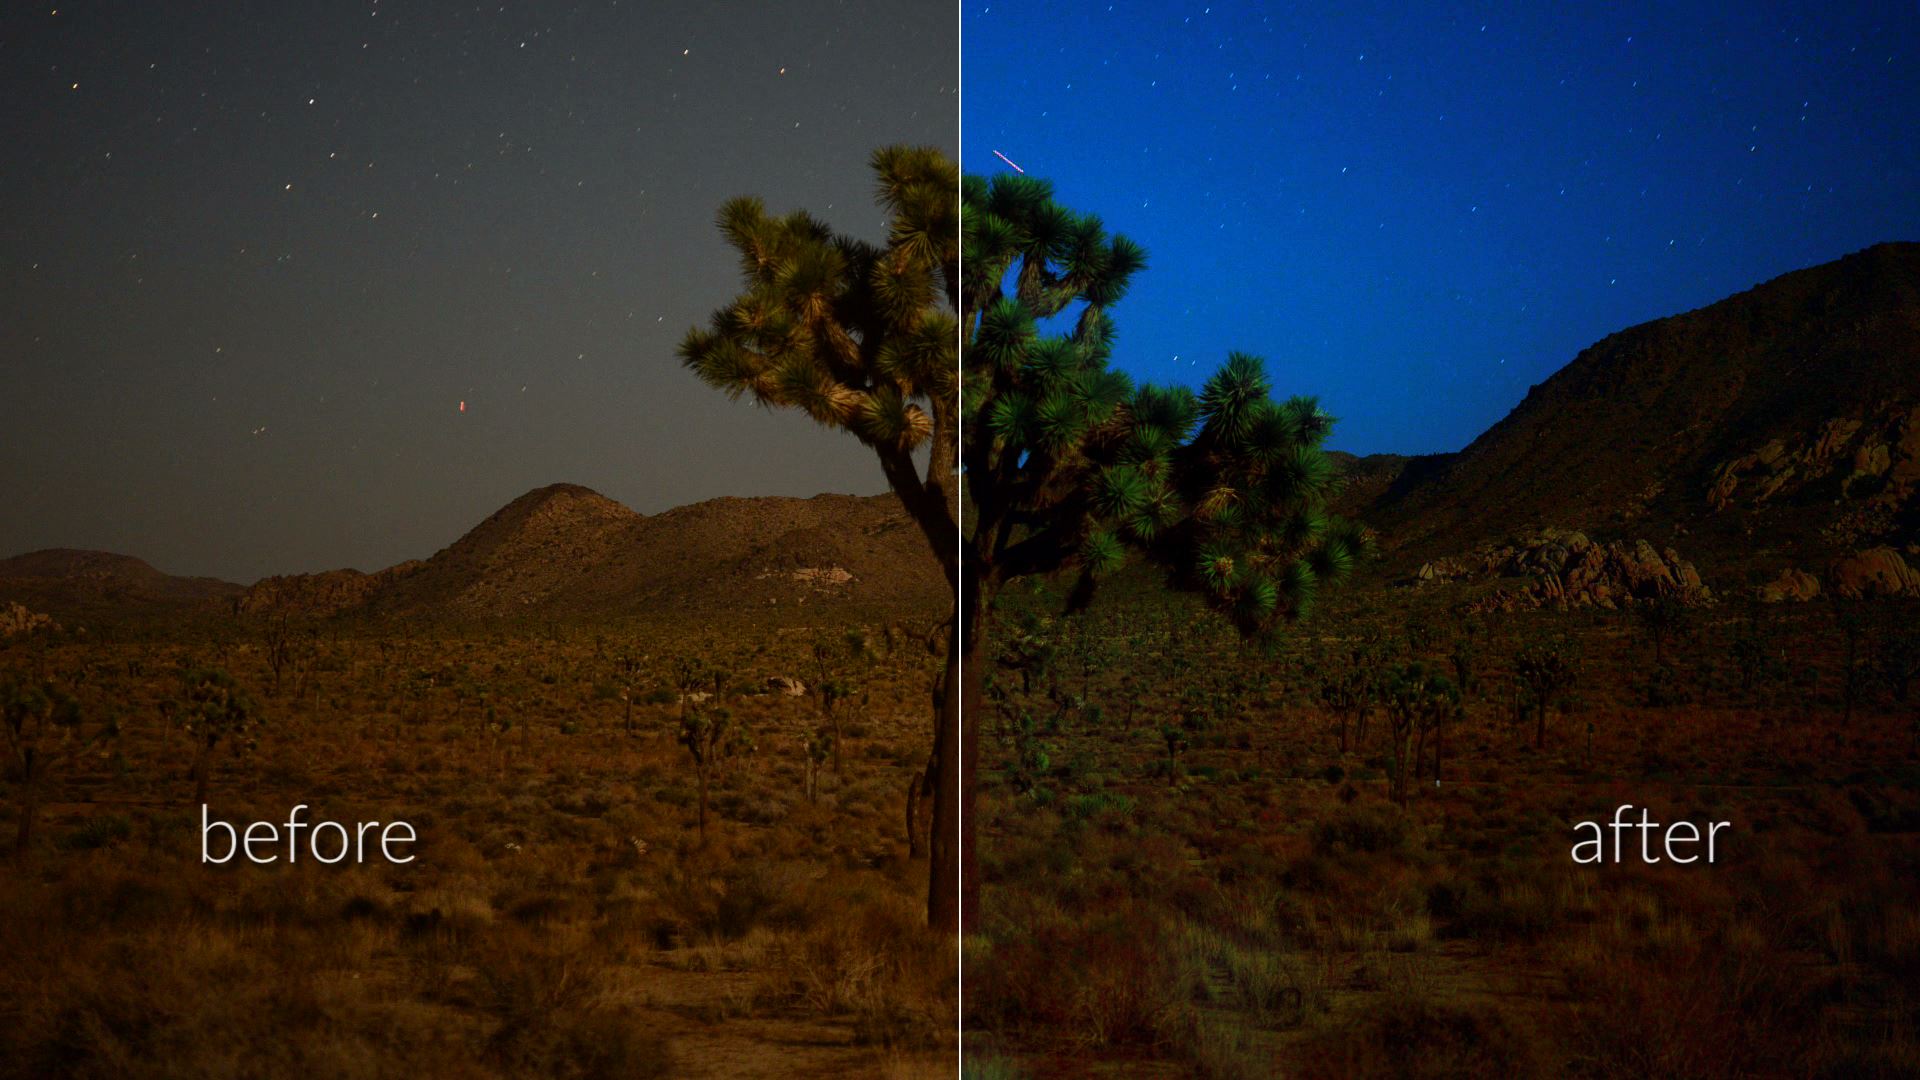
Be aware that the quality of your camera and lighting can only go so far. To really make yourself and your footage look good, plugins are a great option that deliver results fast.
Having a bad day or noticing a few more wrinkles than you remember? Give Skin Touch Up a try. Maybe your footage looks a bit dull. Punch up the colors with ColorFast or the FREE Color Fixer Pro plugin from NewBlueFX.
And if you create vlogs that are filmed on the go, Stabilizer and Lens Correction are great tools to help stabilize and fix that fish-eye lens from your GoPro.

[via]
9. Share
Get some feedback from a trusted friend or vlogger. With fresh eyes they’ll be able to see some issues you may not have seen. Then go ahead and post it. Be sure to prepare it for SEO and share it across your social media channel. If you need help getting started there, we’ve got more tips!
Ready to create vlogs and take the first step closer to Internet stardom? Share your first vlog with us in the comments.