
Saving Time With Multi Title Management
Whether you’re creating longform documentaries, news packages or the latest viral YouTube videos, standing out from the crowd is more important than ever.
To video editors, especially those of us one-man-band types, having access to fresh titles is just as important as having the latest production music, stock footage and imagery available to accommodate even the pickiest of clients.
This means that being able to swap out elements on a whim is indispensable, especially elements that are traditionally more time consuming like motion titles and graphics.
That’s why I was excited to try out Titler Pro 7 and find out how it can make the most out of my editing hours.
One of the main stand out features available in Titler Pro is Multi-Title Management. This feature allows you to make ripple edits across your whole project.
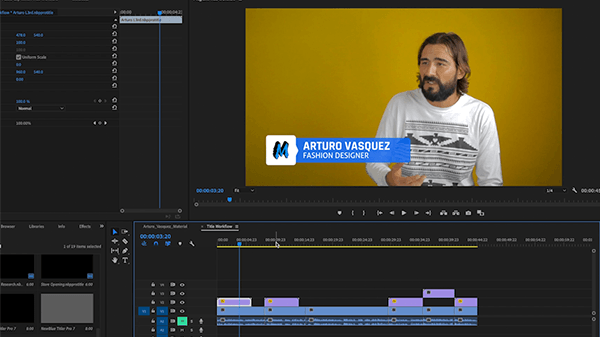
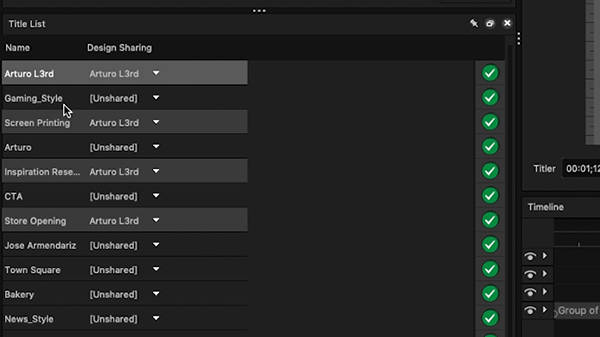
Every time you add a new title to your project, the Title List will populate. You can click on any title on the list and make changes at will. You can see how all of my titles are neatly organized here.
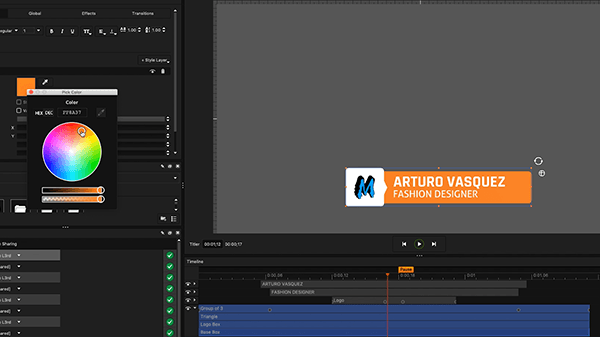
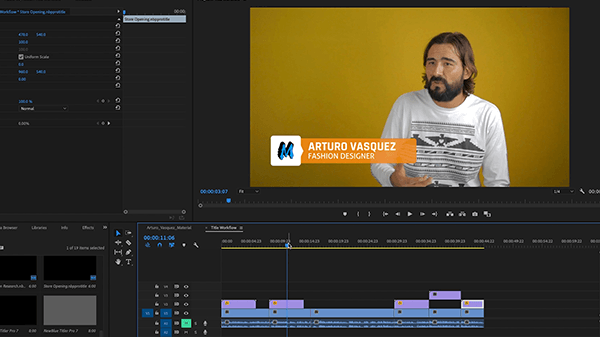
This means that if your client or producer doesn’t like your design’s color, text style or logo, you can open up the Titler Interface, make a change and watch the titles in your timeline uniformly apply the changes you made in the editor.
Having the option to choose a title quickly and continue editing a rough cut has helped me increase my turnaround time because coming back as my project evolves and as many more eyeballs touch my project, editing all of my titles at once is a huge time saver.
I no longer have to go into After Effects or Photoshop to painstakingly render out or re-animate graphics, saving me a ton of time to focus on the final cut itself.
Titler Pro 7 also includes a new rendering engine, making the ripple editing process faster than in previous versions I have used.
Making changes to Templates with the same design that are linked to each other in the title list means that edits will ripple through every instance of that title.
It’s nice to have that feature available for when I have to compensate for a particular talking head interview or an object in frame I need to work around.
Setting a title to “Unshared” will isolate that title and prevent edits in other shared titles from affecting it. This means I can unlink a title and make changes that will only affect that instance.

Overall, Multi-Title management has completely changed the way I look at my titling workflow. Long gone are the days of making painstaking edits in Photoshop and intensive renders in After Effects. I can now edit titles with the freedom and ease I always wanted.