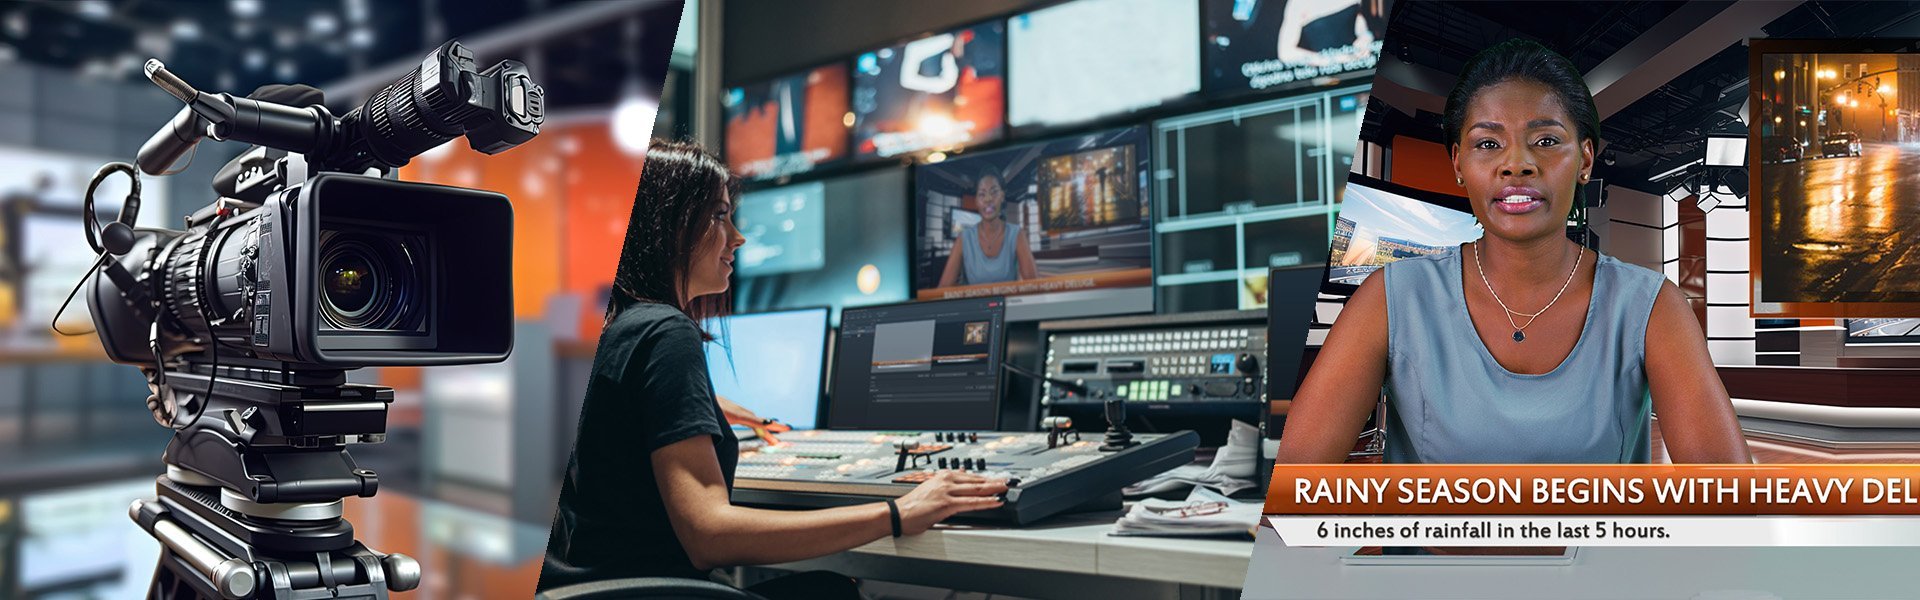
Bust out your Nintendo 64 and chow down on some birthday cake because our favorite red-hatted plumber is turning 30 this year! To celebrate, we’re giving you a step-by-step tutorial on how to recreate your own Super Mario title with Titler Pro.
First, you’ll want to download and install the Super Mario font. Once you have your Super Mario font ready to go, open up Titler Pro, then cue up the theme song and begin.
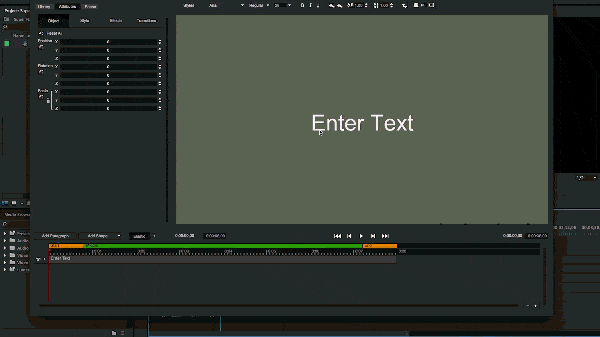
Step 1: Select “Super Mario Font” and type in the word “Super.”
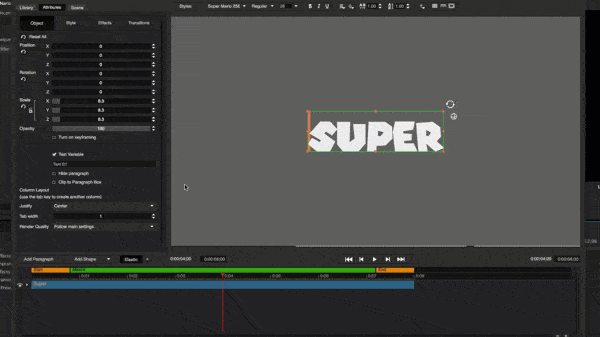
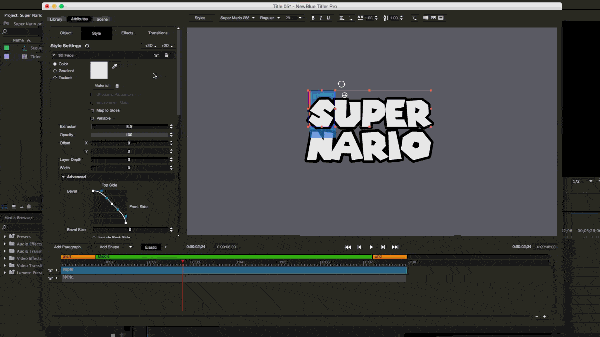
Step 2: Throw a 3D outline on Super and set the extrusion of both the Face and the Outline to 8.5. Set the Outline’s Offset to 0 and Thickness to 20.
Step 3. We just did a good amount of work on “Super,” so let’s save some time and duplicate its settings. Click on the paragraph; hold command and drag to duplicate. Now, change the Text to “Mario” (in this example we used “Nario” to avoid any…issues).
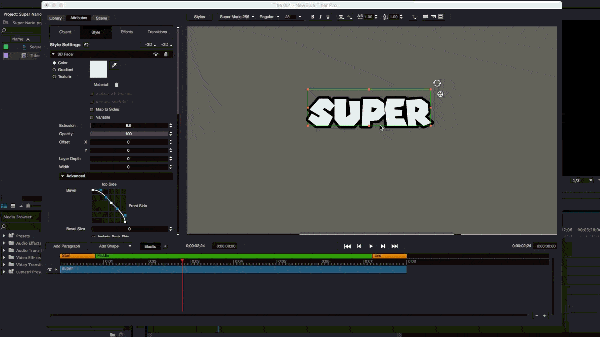
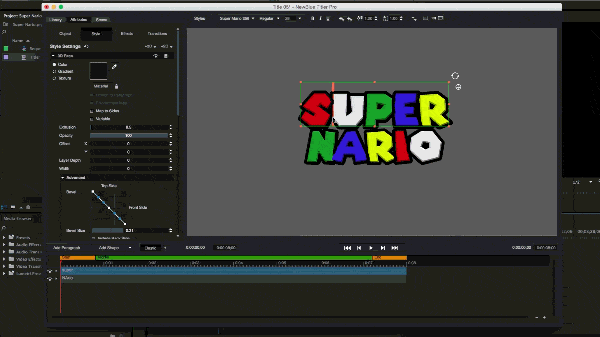
Step 4: One of the great things about Titler Pro is that you can adjust words and characters individually within a paragraph. That being said, select each individual character and change its color.

Step 5: Now apply a linear curve to both paragraphs and set the bevel size to .31.
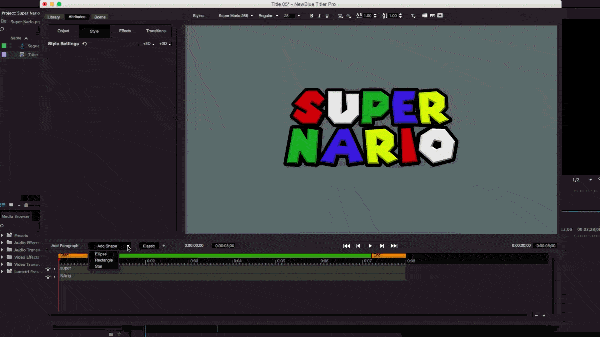
Step 6: Since Mario can change his size, we’ll do the same with our text. Adjust the text scale, position and fix kerning issues.
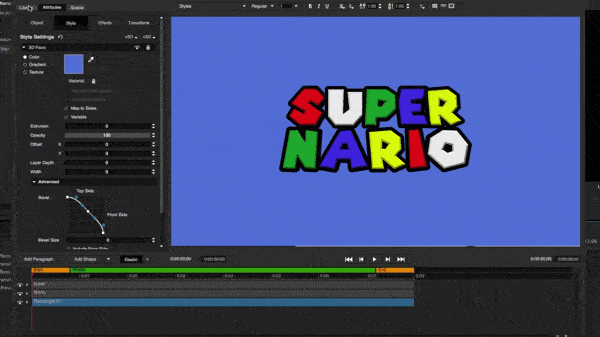
Step 7: Add a new Rectangle shape and color it blue. Stretch it to fill the frame and place the paragraph in the bottom track of the Timeline. This will serve as the background.
Step 8. To make the background pop, go to Effects > Filters > Vignette and apply the “Add Character” preset to the rectangle.
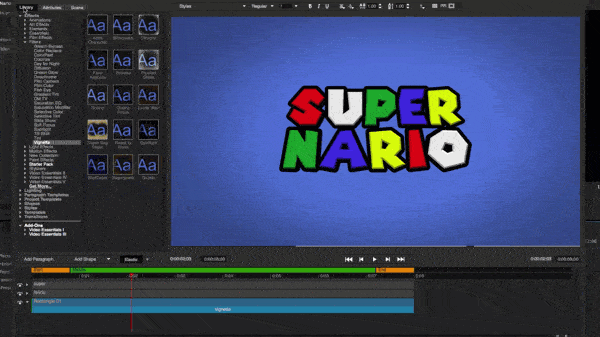
Step 9: Next you’ll want to adjust contrast. Go to Effects > Essentials > Video Tune Up, apply preset and turn the contrast down to -11.9. (Note: Video Tune Up is included in NewBlueFX’s Essentials 3 Ultimate.)
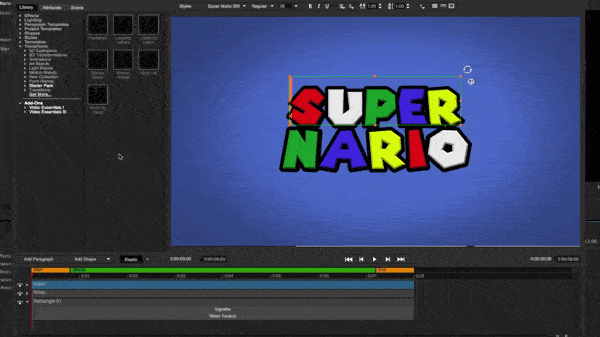
Step 10: Select the first paragraph and go to Transitions > Animations > Falling Words and select the “Airbed” preset. Then select “Apply to Paragraph” from the drop down menu.
Step 11: Select the second paragraph, go to Transitions > Animation > Popup and apply the Growing Letters Transition. After applying it, select Apply to Paragraph from the drop-down menu.
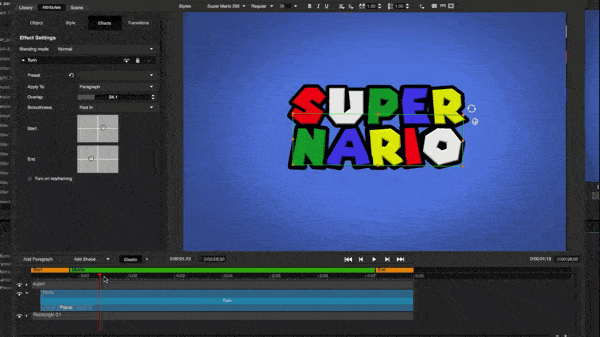
Step 12. Apply the “Turn” effect from Effects > Animations > Turn and adjust the parameters for each.
Step 13: Close Title Designer and go back to your NLE. Add some snazzy music and export the finished title.
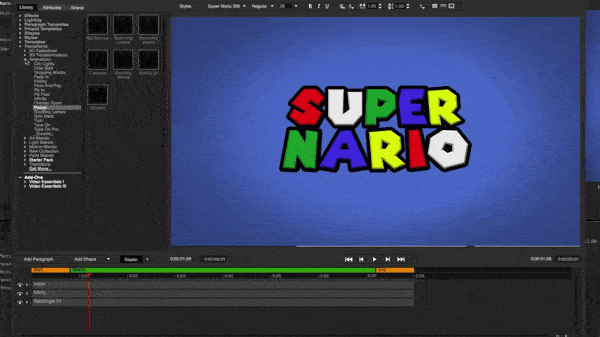
Once you’ve finished, you should have a stunning 3D title that will give you a “1 Up” on your Super Mario fan video.
See what you can create with NewBlue Titler Pro today!